Taratories Blog

Cactus Wall Mural

This week I created a patterned mural for a baby nursery.  The goal was to create rows of cactuses to create the look of wallpaper.  I used fluid acrylics which can be watered down to mimic the look of watercolor.  

IMG_4759.JPG

With these paints, I was able to create a washy look with a variety of lights and darks which gave the cactuses a more interesting look.

IMG_4771.JPG

Before I started painting the cactuses, I cut 2 different cactus shapes out of paper to use as my outline. On alternate rows I flipped the cactuses in the opposite direction which helped to create 4 different silhouettes.  

IMG_4772.JPG
IMG_4763.JPG

As you can see, I was pretty happy with the results!  My friend gave me a charcoal facial in the during my time painting and she commented on how well I was "multi-masking!"  :)  

IMG_4774.JPG

This room is a really fun and unique boy room with so much texture and energy and will be a room he can definitely grow in!

IMG_4775.JPG

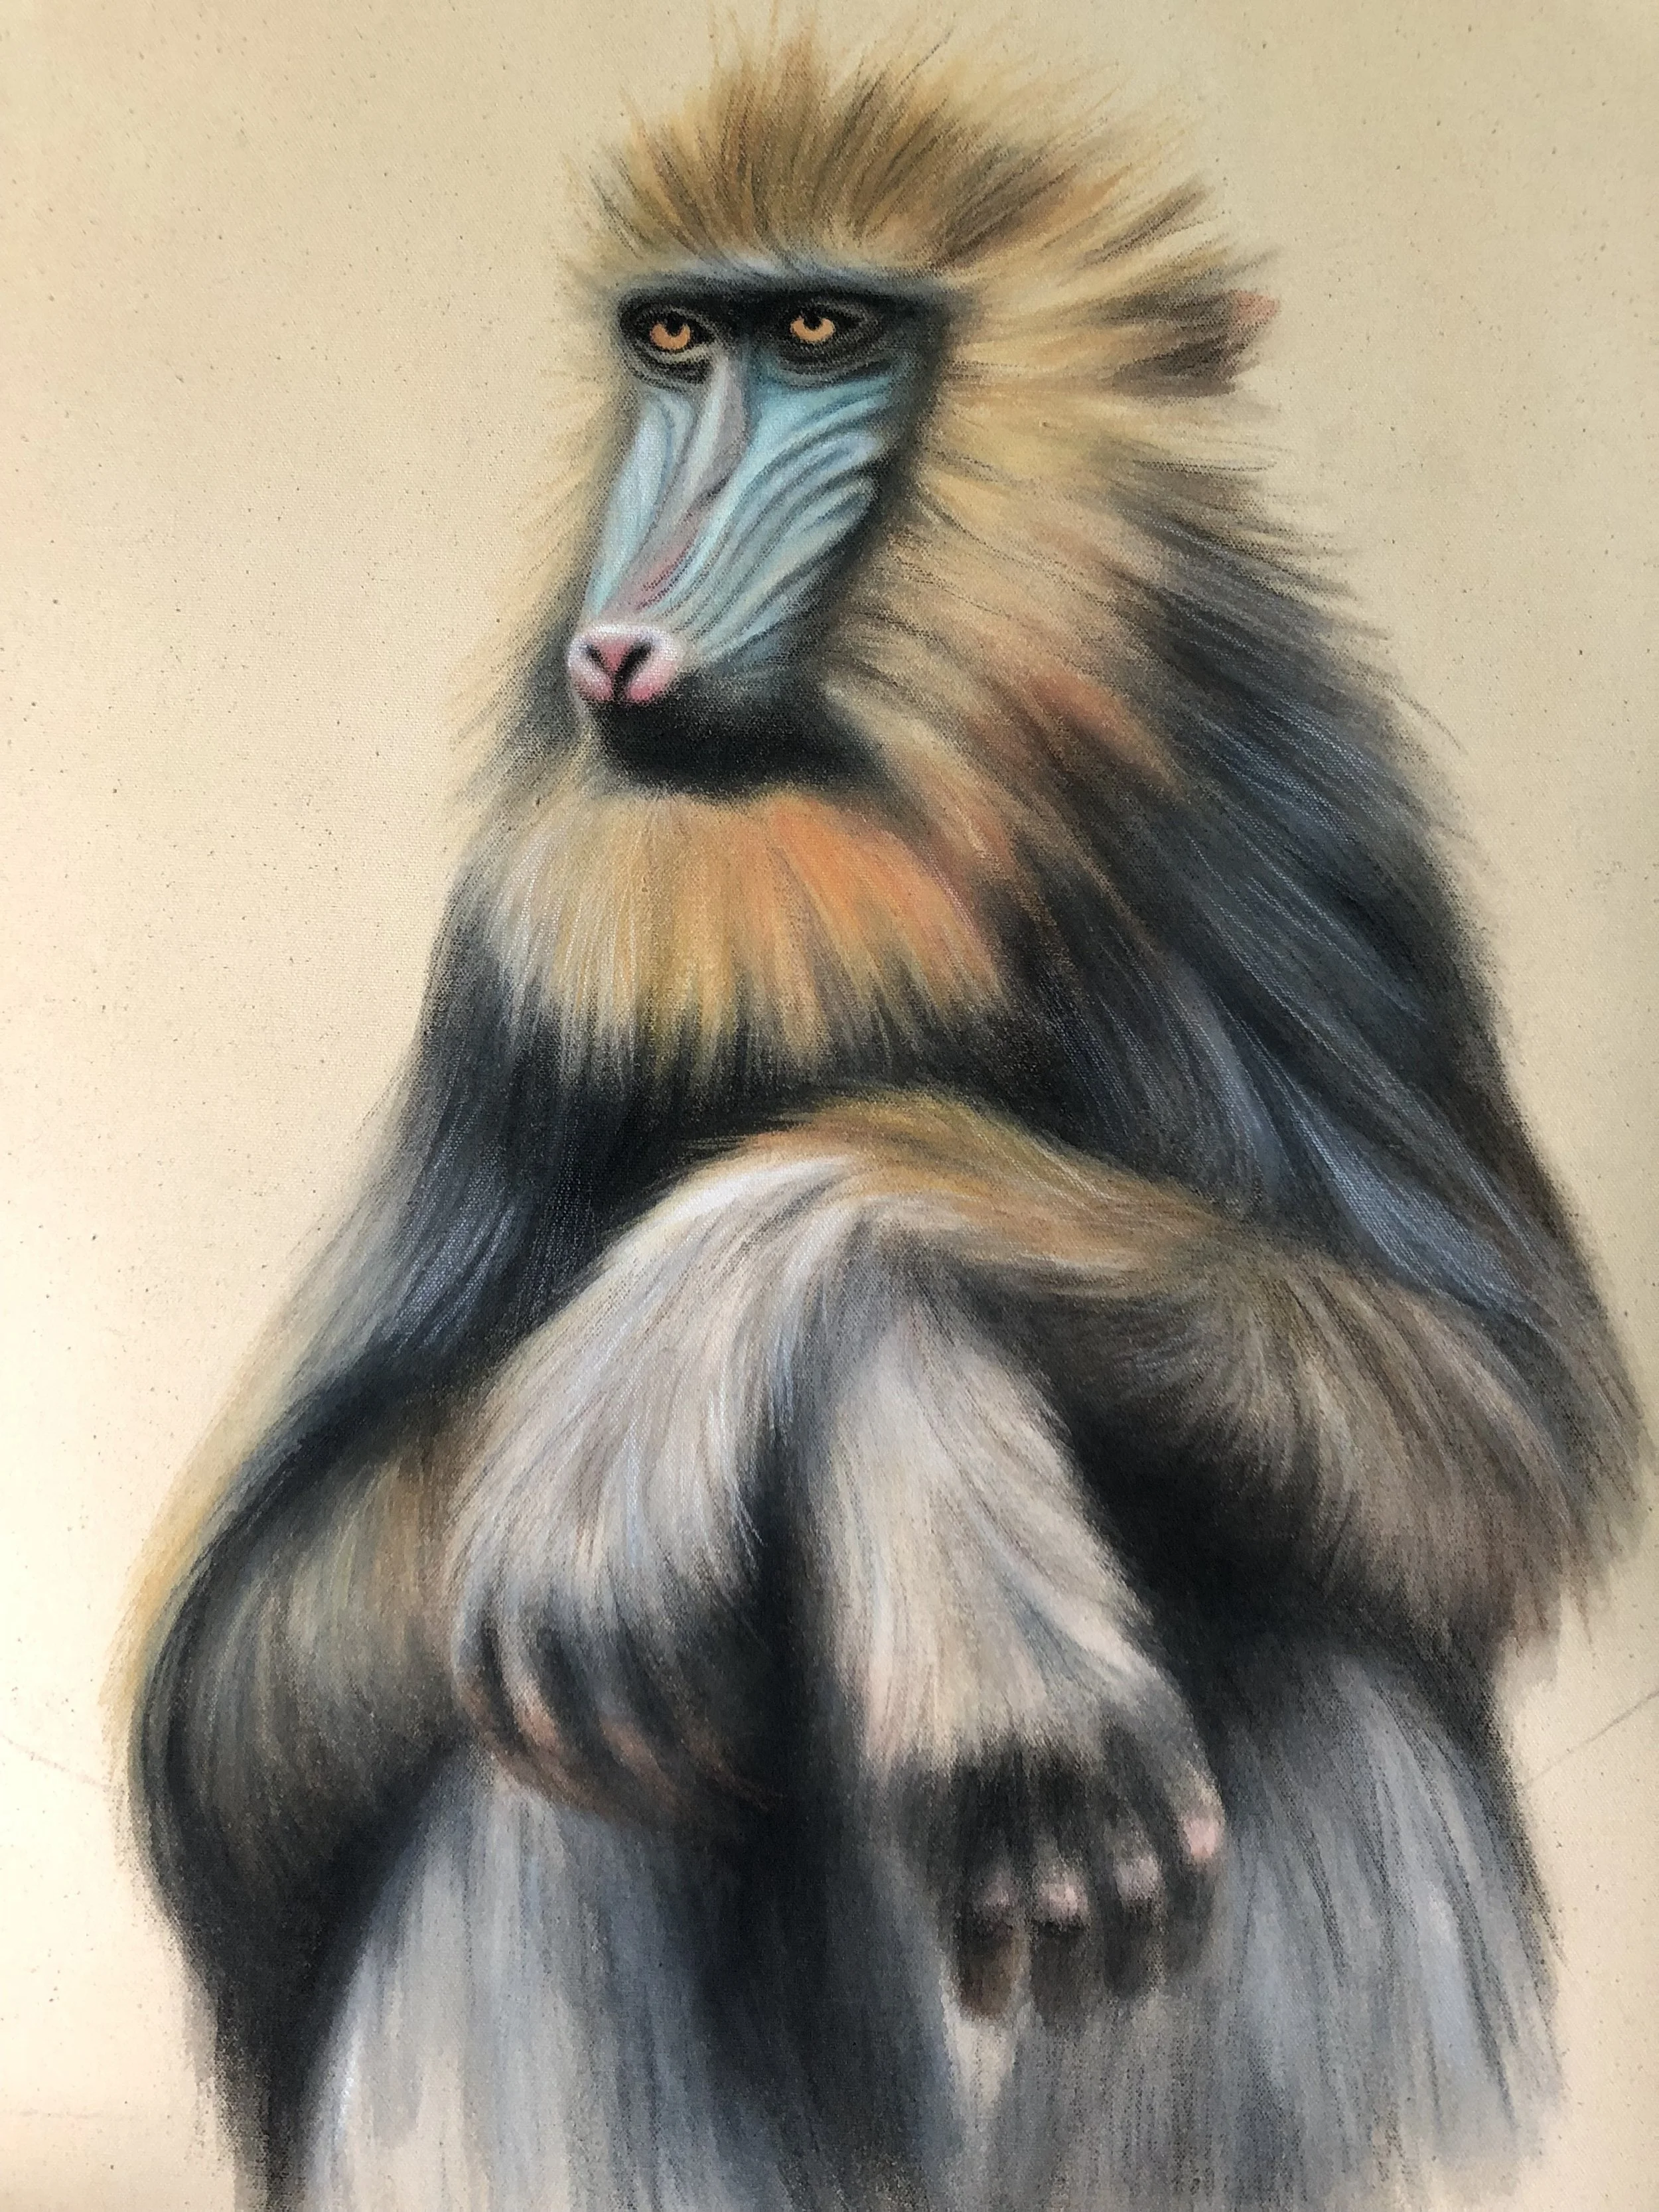
"Melancholy Mandrill"

Recently I painted a new animal painting to add to my collection that has been in the works.  I have always loved the look of Mandrill monkeys so I decided to use one for my next subject.  First I sketched out the basic placement lines of where I wanted the monkey and crowned african eagle to go.

I began the monkey by doing a layer of colored pencils on his face and body.  Then I followed the pencil with a layer of paint.  I continue the process of layering and building up the layers of pencil and paint until I achieve the results I want.

IMG_2081 2.jpg

The photo below is not quite done yet, but getting there...

IMG_2108 2.jpg

Almost there...

IMG_2110.jpg

And finally there.  The cherry on the top was the details such as the little hairs on his eyes and nose and the reflections on his eyes.  The details are always my favorite and the parts that keep me chugging along when I am having a hard time pushing through.  Knowing I get to add these little details really put a fire underneath me to get to the finish line. Painting the texture of fur has been SO FUN for me! 

IMG_2125.JPG
IMG_2118.jpg

I always love a polka dot, and recently I am into pale pink combined with black, so this is what I chose for the background.

IMG_2170.jpg

The background was done with a technique called negative painting.  An example of how it is done can be found HERE .  I also painted some imaginary fruit to add to the monkeys environment.

IMG_2174.jpg

The intensity...

IMG_2195.jpg

The final elements...

IMG_2324.jpg
IMG_2325.jpg

The finished painting...

"Melancholy Mandrill" 28X38 inches

"Melancholy Mandrill" 28X38 inches

This painting and others can be found at Artisan Coffee Shop at the Whole Foods Market in Akron for the whole month of April (1745 W Market St, Akron, OH 44313).

"The Polar Plunge"

I have always loved polar bears.  I could watch them swim in the water all day!  I decided that this would be the perfect animal to paint next!  First, I sketched out my composition. I wanted the polar bear to be as close to life size as possible.  During my research, I found that polar bears are about 4 feet standing on all four legs.  I was able to make him close to life size being around 3 feet tall.  He felt HUGE when I drew him up on the canvas and I loved the grand presence of him.  For some reason, I always want everything I paint to be as life size as possible, whether it be people, etc. and, in this case, animals.  It is so much easier to capture all of the detail in my subjects when they are larger, and then I almost feel like they are in the room with me and a part of my space.  

I began my mixed media painting with my first layer of colored pencils which is a great way to map out all the lights, darks, and variations of color before I lay down the paint.  My mixed media technique is unique in that I layer pencils, then paint, then pencils, etc. onto my canvas.  It really creates a beautiful depth and atmosphere to my paintings that I wouldn't be able to achieve in the same way with using paint or pencils alone.  Drawing has always been my first love and years ago I found this mixed media technique that has suited me perfectly. It was magic the first time I ever tried it and I have been obsessed ever since!

IMG_1984.jpg

I was a little nervous about painting a white animal because sometimes it can be tricking creating the variations of tones in white, but it really helped starting off with a tan base so that it wasn't so intimidating and helped create immediate contrast between the white I was laying down on my canvas.  One of my favorite things about doing art is studying a subject through painting it.  I never would have realized that there were so many different colors in a polar bear's fur, or that lines form where clumps of hair separate (i.e. hand and head).

IMG_1991.jpg

The next animal was a bearded seal.  I had no idea there was such a thing as a bearded seal until I started to research animals to paint.  But once I found this kind of seal I was set on painting him!  I love all the long whiskers they have and they were just so cute! He is missing half of his face here but this is the work in process...

IMG_1995.jpg

I developed the seal more and submerged him in some painted water...

IMG_2033.jpg

I wanted this painting to have a nautical feel to it so blue and white stripes seemed like the perfect pattern to incorporate.  It took me some time to figure out the best place to incorporate the stripes. In my sketchbook I made a few pages of thumbnail sketches playing around with placement and colors etc. until I arrived at this... 

IMG_2040.jpg

Florals and stripes are a classic pairing and the flowers were a great way to add some color into this painting since my animals were very neutral.  I used the flowers as a repeating pattern in the background and used my paint without much water to create a soft texture to the flowers.  This is a dry brush technique that I don't think I have used on my canvas paintings before and I really like the way it turned out.  It gave the flowers a kind of velvety look.  Painting the fur has been a wonderful way to show me that I can create a variety of textures with my medium and makes me want to explore other textures.

IMG_2066.JPG
IMG_2064.jpg

The final step was to paint a blue background around the flowers and really help make the bear pop.  It sure did!  After I laid on the blue, the white of the polar bear was a striking contrast and I couldn't be happier with the result.  I added a gold edging to the circle and gold dots for some embellishments in the background which is the cherry on the top for me!

IMG_2073.jpg

The finished painting is 30X36 inches and is available for purchase.  Email me at taratories@gmail.com for any inquiries at all about this painting. It will be on display locally to the Akron area next month. More details to come on that so stay tuned!  If you don't want to miss a beat, send me your email so that I can get you on my email list. I don't usually send more than one email a month but it is a great way to stay in the loop about local shows, art sales, etc.

IMG_2074.jpg

Scarlett O'Hara

Scarlett O'Hara, one of the main characters in Margaret Mitchell's novel Gone with the Wind, has always been one of my favorite literary characters.  Not only was Vivien Leigh an incredible talent and beauty, she was part of a film that my parents got my name from.  Tara was the plantation that was Scarlett's most treasured possession and I feel a great kinship to her and the film because of this. This is one of my favorite looks she had in the movie.  The feathers, the tulle, the glitz, the glam, the scarlett, I love it all.

FullSizeRender-4.jpg

I decided that this photo was the one I would use for reference for a painting I was going to do.  First I drew Scarlett's face.  I think her raised eyebrow really makes her look like Scarlett.  I never thought about that before, but after I drew her I realized that this was signature to her look.

Then, I added the beautiful scarlett dress with my watercolors and built it up in layers to create the right tone.

Next I added gold behind her which really made her face pop and was a great compliment to the Scarlett color.  Usually I do more in the circle behind the women I paint, but with this one, I felt that all it needed was gold.  I didn't want anything to distract from the star of the show and I felt like less was more in this situation.

I added some touches of acrylic paint on her dress where it needed some darker tones and also darkened up her hair.  I also gave her some red lips and added the gold bling additions which really made the piece come alive.

I'm really happy with how it turned out!  This painting was created for an auction that is for a great cause!  The money raised through this auction goes to the National Down Syndrome Society.  Bidding is live as of today!  If you want to have a chance to win this painting and support a great cause, place your bid here: https://www.501auctions.com/ndssgala2017/item/517744 . The silent auction ends at 10pm on March 30th!

22X30

22X30

Plaza Mayor, Salamanca

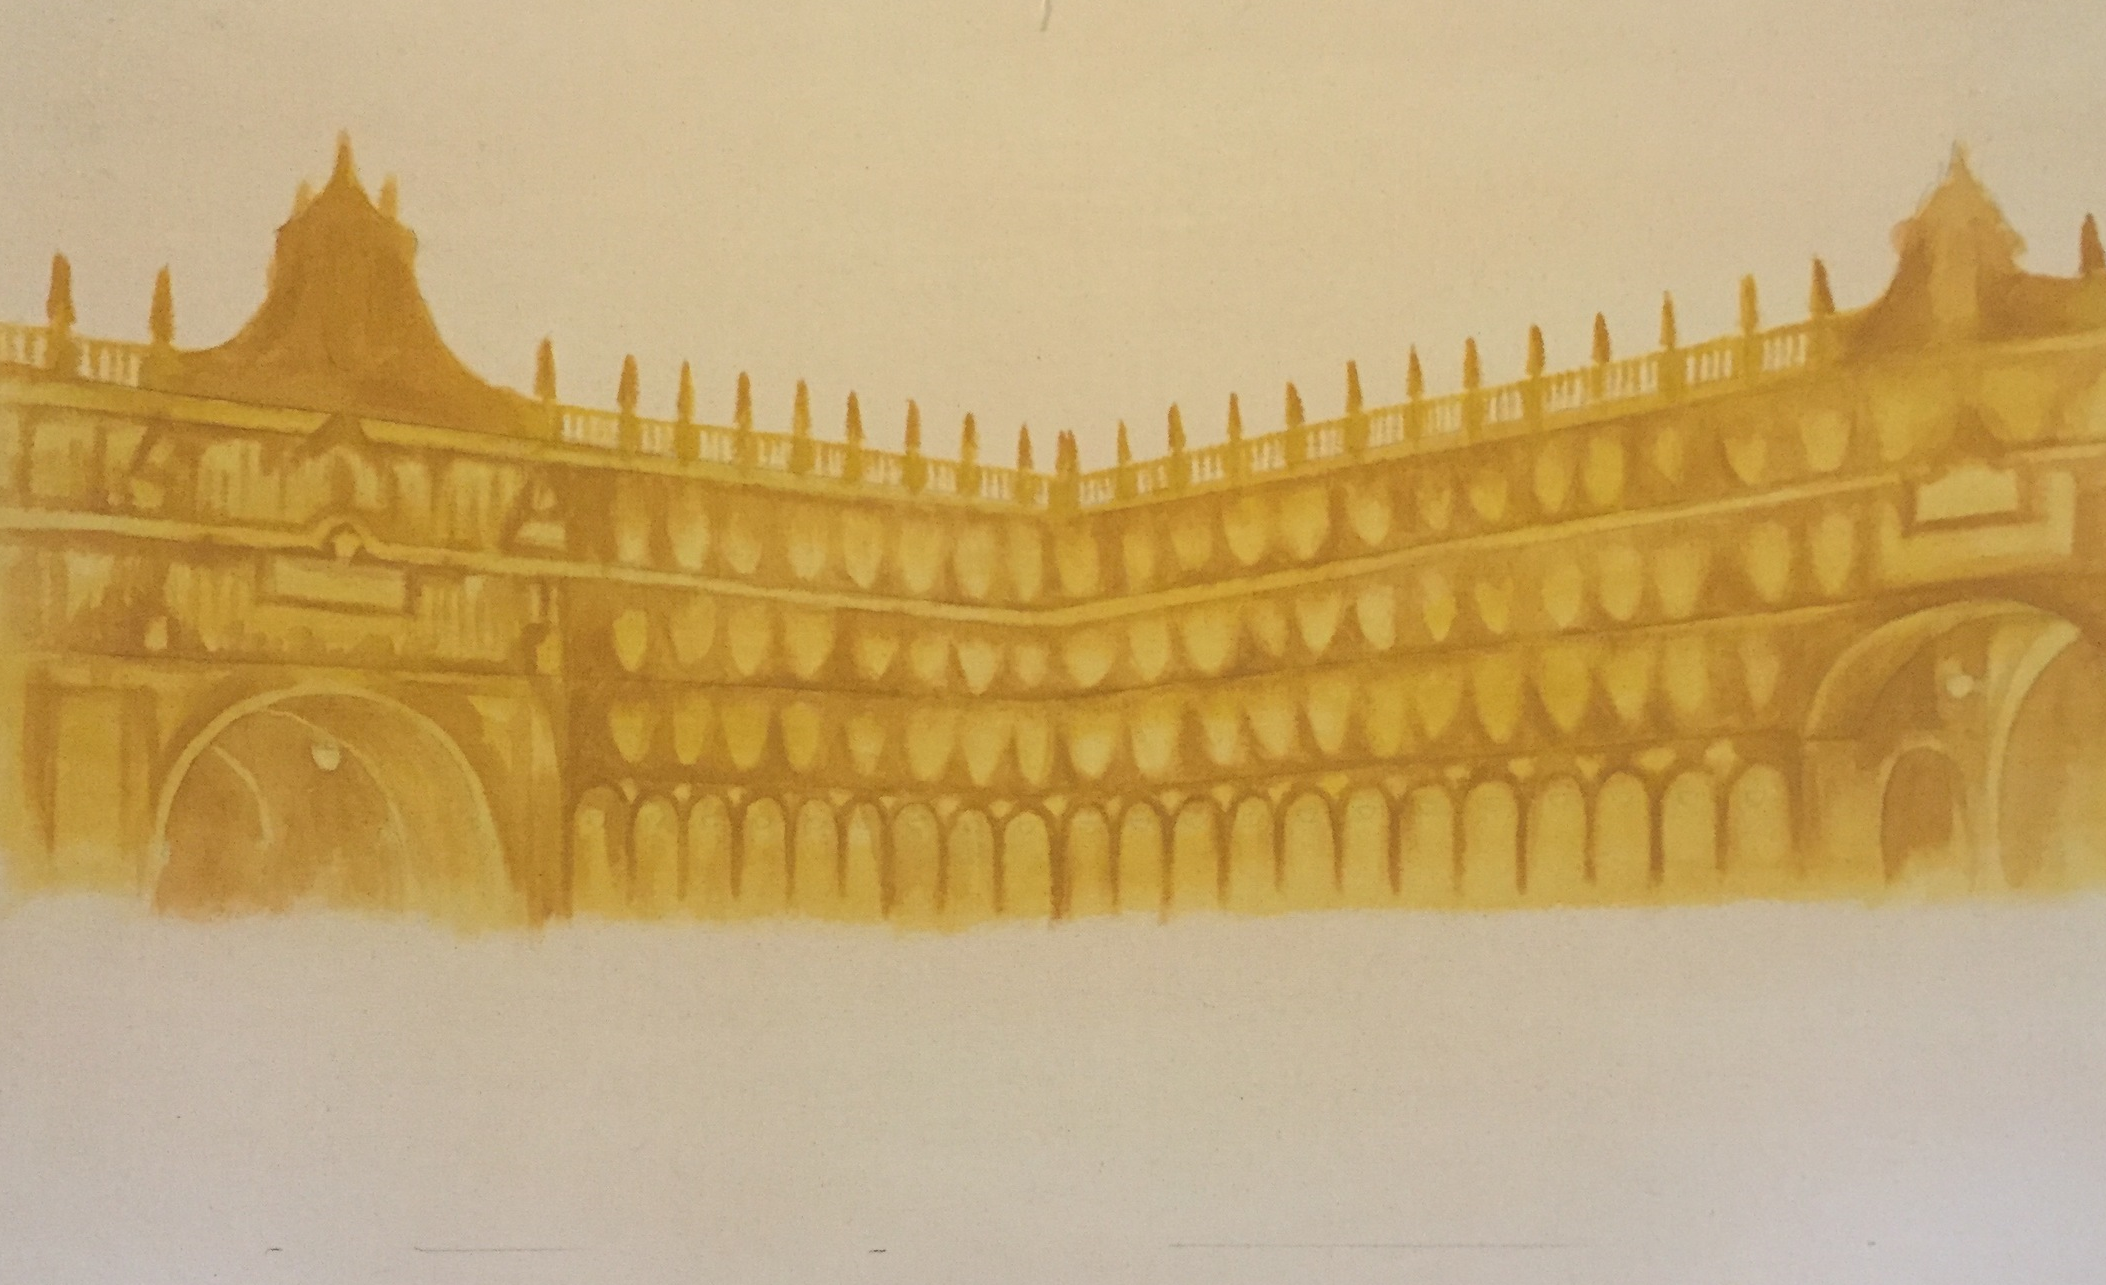
Today I just finished a painting that someone commissioned me to paint for them. The individual spent a year abroad in Spain and wanted me to capture the Plaza Mayor in Salamanca, Spain on canvas.  It is a popular gathering area which is considered the heart of Salamanca and is regarded as one of the most beautiful plazas in Spain.  She wanted me to capture the plaza at night with people gathering among its shadows.  The prep for the initial lines took me quite some time.  I did a small sketch of the building and made a grid to enlarge it to its larger proportional size.  Getting the perspective right in this piece was crucial and, with all the detail in the building, I had to be as precise as possible with my measurements.  Once these lines were transferred onto the canvas I felt like the hardest, most important, job was done!   

It was fun to shift gears and start laying down a wash of yellow on the canvas.  I love technical drawing, but it can be strenuous on the mind, and my mind in particular needs a good layer of wash here and there to keep it feeling in balance.

After I laid down the first coat of paint, I mixed a darker yellow ochre color to start building up the shadows and painted that on.

IMG_6918.jpg

I then started adding a coat of black to all the areas that needed it and, in this stage, the sky felt very dark and ominous.

IMG_6950.jpg

I added another coat to the black areas which calmed down the sky a bit.  I contemplated doing a third coat on the sky, but I liked the way that the underlying strokes added texture and movement so I decided to leave it alone.  I was really pleased with the way that the yellow reacted when I put layers of black wash over the shaded areas.  

IMG_6999.jpg

I was holding off with the ground until I decided in my mind how I was going to go about painting it, but once I was done with the majority of the building I was ready to take it on.  More yellow wash was added to the ground.

IMG_7002.jpg

I then started painting vertical black washes over the yellow which would act as shadowed reflections from the building.

IMG_7005.jpg

I added more layers until I got the ground looking the way I wanted it to.

Lastly, I added some colored pencil details in the building and painted some silhouettes of the people congregating in the plaza.  She wanted her and her family painted in the crowd as well so I added some figures in color along with her and her family in the bottom right corner.  This painting was something totally different that anything I have ever done and it was a good challenge for me!

Plaza Mayor, Salamanca 34X21

Plaza Mayor, Salamanca 34X21

En Plein Air

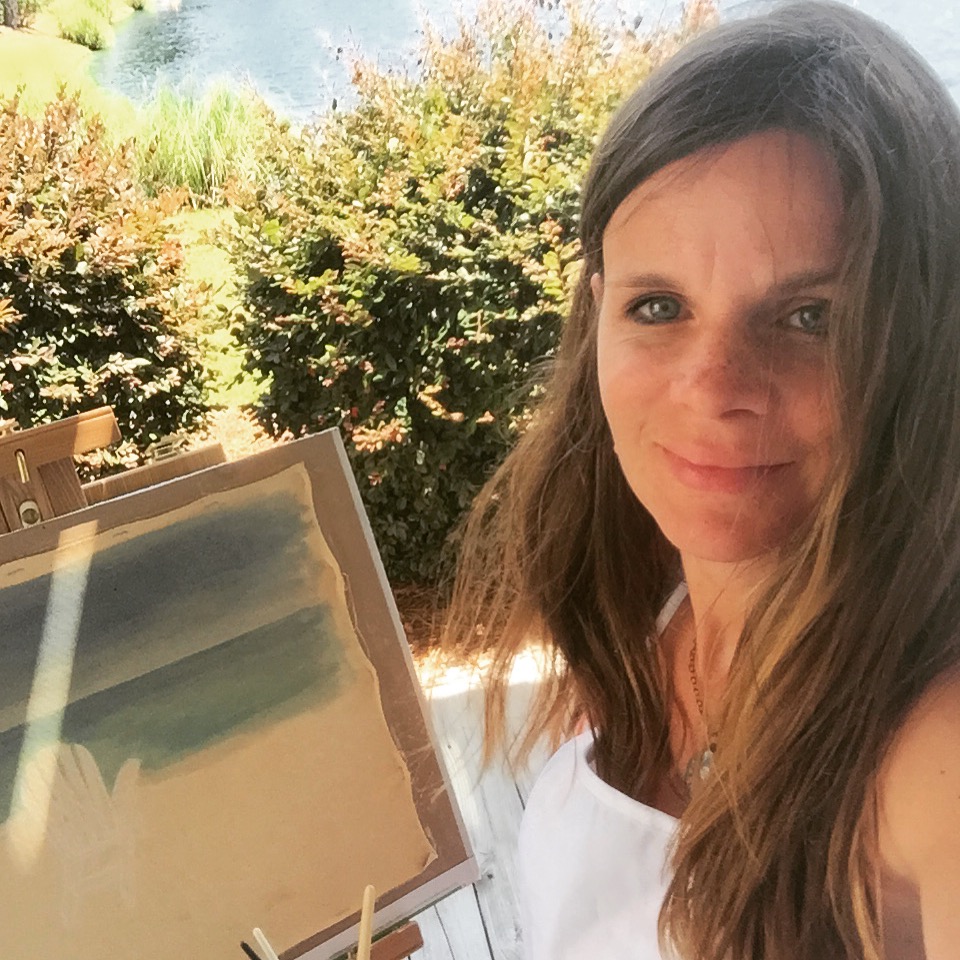
Every summer my family and I go to Ocean Isle Beach in North Carolina for vacation.  This summer I thought that I would bring my art supplies along so I could work on a commissioned piece that someone ordered from me.  They wanted a tranquil beach scene with two adirondack chairs to symbolize times spent with her and her daughter at the beach.  She is giving it to her for a graduation present which I think is so special.  I first laid down some washes of color at my easel.  The wind was blowing intensely that day, but the easel stood firm.  My hair, not so much.  I have to admit that besides doing some light sketching and watercolors outside, I have never worked on a piece from beginning to end outside.  Having the blue waters as my backdrop was so inspiring and beautiful to have around me.  I felt such a sense of freedom as I painted outside.  There was peace and calmness about me as I worked.  This meditative environment helped me feel so comfortable with every brush stroke and line applied to the canvas.  "En plein air" is a French expression which means "in the open air" used to describe the act of painting outdoors.  I never realized how fresh air, beautiful landscape, sun, and breeze could have such an affect on the way I worked, but now I am determined to make more "plein air" happen in my life.

IMG_1922.JPG

I also loved working beside my nieces.  When they found out I was doing art, right away they gathered their art supplies and started working next to me and it was so fun!  They were very curious as to what exactly I was doing.  I just love how kids are so curious and how inspired they can be just by watching people.  They are quite the little artists themselves!  One of my nieces does beautiful typography and she was working on a "T" For me, the other was having fun using the colored pencils I had out, but ended up chasing her paper in the wind most of the time :)  
When I took this picture, the beautiful coastal sunlight snuck in and laid on the most perfect place on my canvas!  It wasn't until later that I noticed what happened and I think it's kind of crazy!

After I stretched the canvas on the frame I realized how perfect this piece would look on my dining room wall!  Sadly, I had to package it off to ship it out.  I might just have to paint another beach inspired scene again...