Taratories Blog

A Tree for Junior Power Kids

A couple of months ago some leaders in our church kids program asked me if I would help create a tree in the new children's wing of our church.  We had a tube to use as the form to begin.  I then had to come up with a plan of how we were going to make the simple cylinder shape transform into a tree.  

First we collected branches to use on our tree.  Then we made openings in the cylinder for the branches to fit into.  Next we spray painted the branches brown to match the same brown color we were going to be painting the trunk with. The branches came without leaves so we purchased silk leaves from the craft store and attached them onto the branches with wire.  We then secured the branches into the "trunk" and made the tree look as if it were going through the ceiling by only attaching a few limbs to the tree.

The easiest way that I could think of to give the tree texture was to use paper mache. We dipped pieces of newspaper in the standard glue/water paper mache mixture and started sticking them to the tree creating textured creases.  It was already starting to look like a tree trunk!

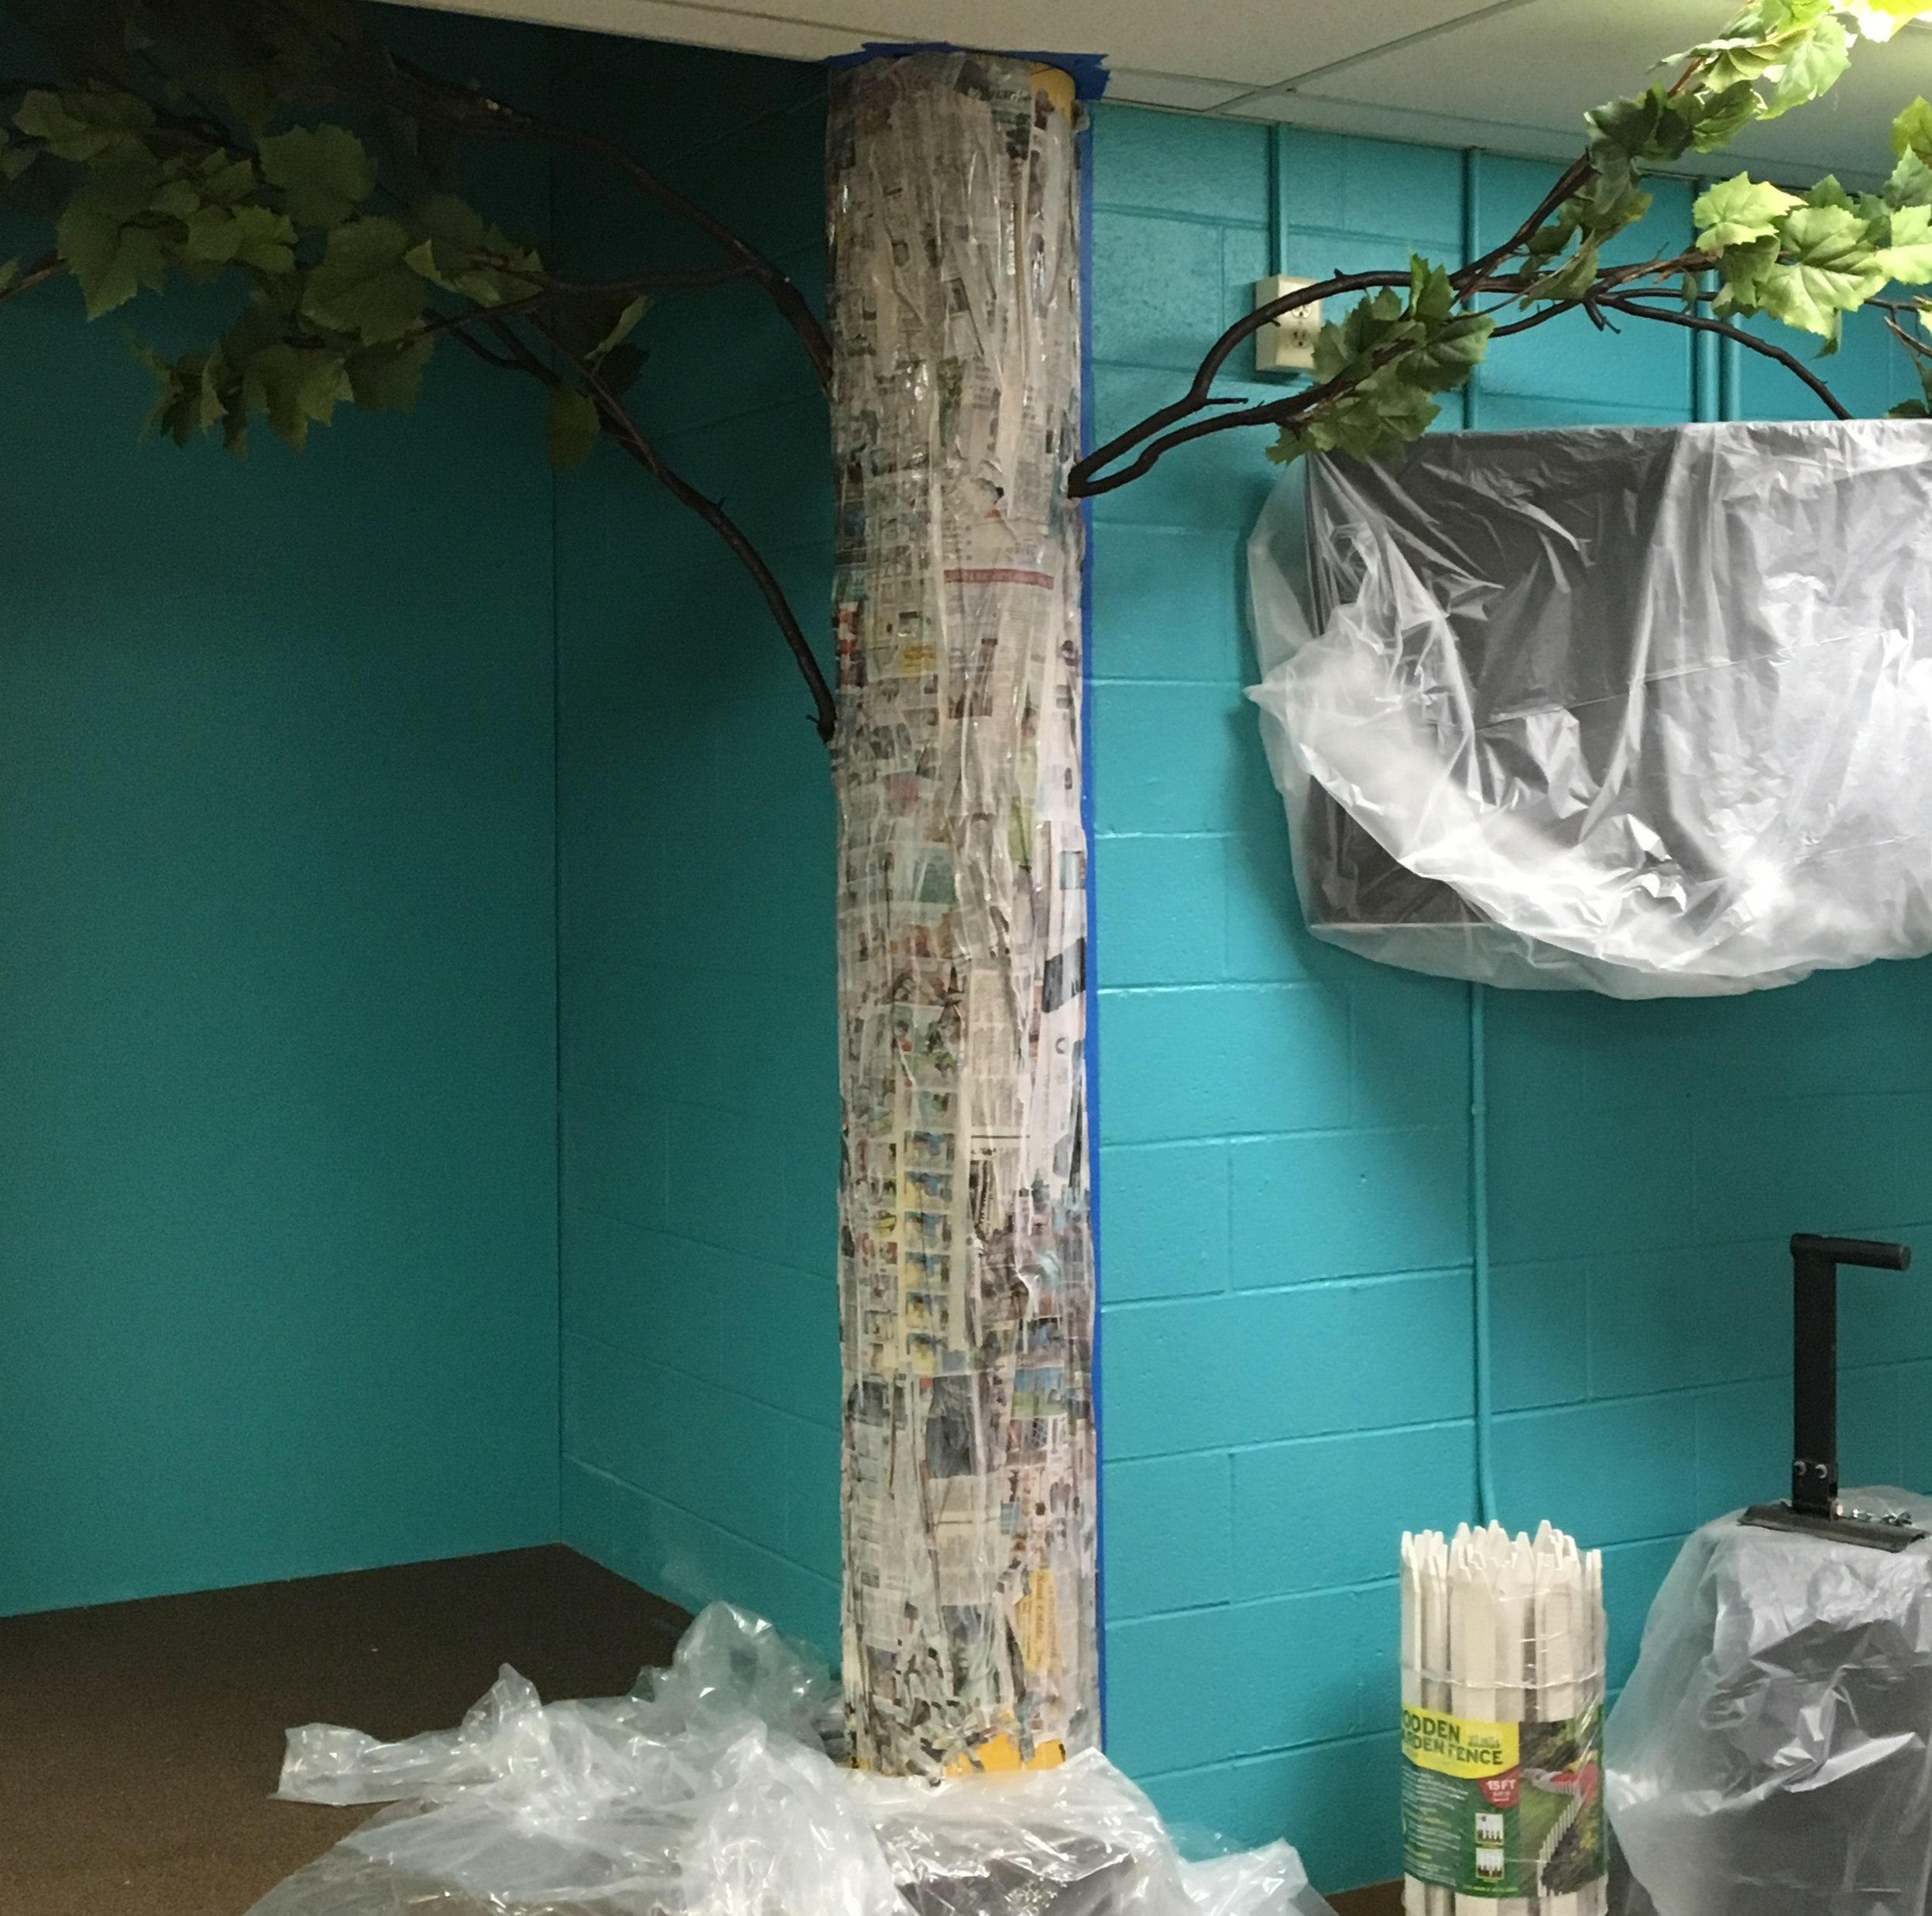
After that part was completed we moved on to the roots.  We twisted newspaper into long clumps taping them so they wouldn't unfold and tapering them at the bottom where the roots would end.  We then taped them onto the trunk and added more newspaper on top of the taped areas where they were attached to give a more gradual, natural slope.  After letting the paper mache dry, I painted the trunk brown and gave it a coat of polycrylic protective finish over the whole thing to protect it from little hands ripping into the newspaper.  Not to say that won't still happen, but it at least will help a little with that!  

I am so thrilled with how it came out!!  It is such a great addition to the new Junior Power Kids wing! My son was thrilled this past weekend when he was able to use it for the first time!

I also painted this cute little train that kids can pose behind for pictures for the "Creation Station" theme they have going on right now.  I was so happy to be a small part of making this new kid space a fun and exciting space to be in!  To learn more about Grace Church's Power Kids program here in Akron, Ohio, click HERE.

Let the Rain Reign

This past year I painted one of my sisters cradling her baby.  I have been wanting to paint my other sister as well and this week I decided to finally make that happen.  I used a photo of her face to use for reference.  Here are the beginning lines with the placement of her features and some art nouveau inspired designs circling around her.

Here is the first layer of paint and pencil on her face where I established the highlights and shadows.  One of my sons told me that it looked like she had sunblock on, and I agreed!  

She started looking more realistic after I added more layers of paint and pencil over her skin.  I gave her some highlighted hair and a flower as a focal point. 

Here is the first splash of color...

more color...

The left corner needed something and I decided this little guy would balance out the composition perfectly.  

I felt like this piece needed more texture and I found myself using paint that I had just used on my bird to add another layer to this piece.  I say "I found myself" because it happened so fast I didn't have time to discuss with myself if it would be a good idea or not.  I make a lot of calculated decisions in my art, but the most invigorating moments are the ones that I don't plan.  The decisions that are on a whim, that come from a feeling, that are a risk.  Sometimes it doesn't work out, but if it does it usually is my favorite part.  These spontaneous gestures may help me to find a new technique or find myself. They teach me to let go and lean on my creative intuition.  This week it rained on my canvas and there was nothing I could do to stop it.  Take cover my friends and let the rain reign.

From Lines to Lumber

This weekend we met with some carpenters that will be helping us to build our winter set.  I was there to give them some artistic direction by relaying our design plans to them so they knew exactly what we were planning on executing in this set.  This group of carpenters instantly caught on to our vision and began discussing with each other the best way to build the snowflake diamonds and support them on stage.  I love seeing other people do what they do best, and I love seeing the design process step into the next phase which is seeing the design turn into reality!

No longer is it a drawing or idea, but a real, tangible thing... pieces of wood...

stacks of (free!) lumber...

and random paper products from Walmart!  We chose some materials to experiment with that thought we could manipulate and use to fill in our diamonds.

IMG_7811.JPG

I was cutting, folding, and bending to make design elements to create texture, pattern, and color that could potentially be used inside the diamonds.

The key is to create texture and shadows that can be seen from far away.  There could be endless ways to manipulate these materials to create different effects.  It will be fun to see what others will come up with!